Time lapses are a fun way to quickly show a long period of time. They typically involve setting up your camera on a tripod and taking photos at a regular interval, like every 5 seconds. After all the photos have been taken, they are combined into a movie at a much faster rate, for example 30 frames per second.
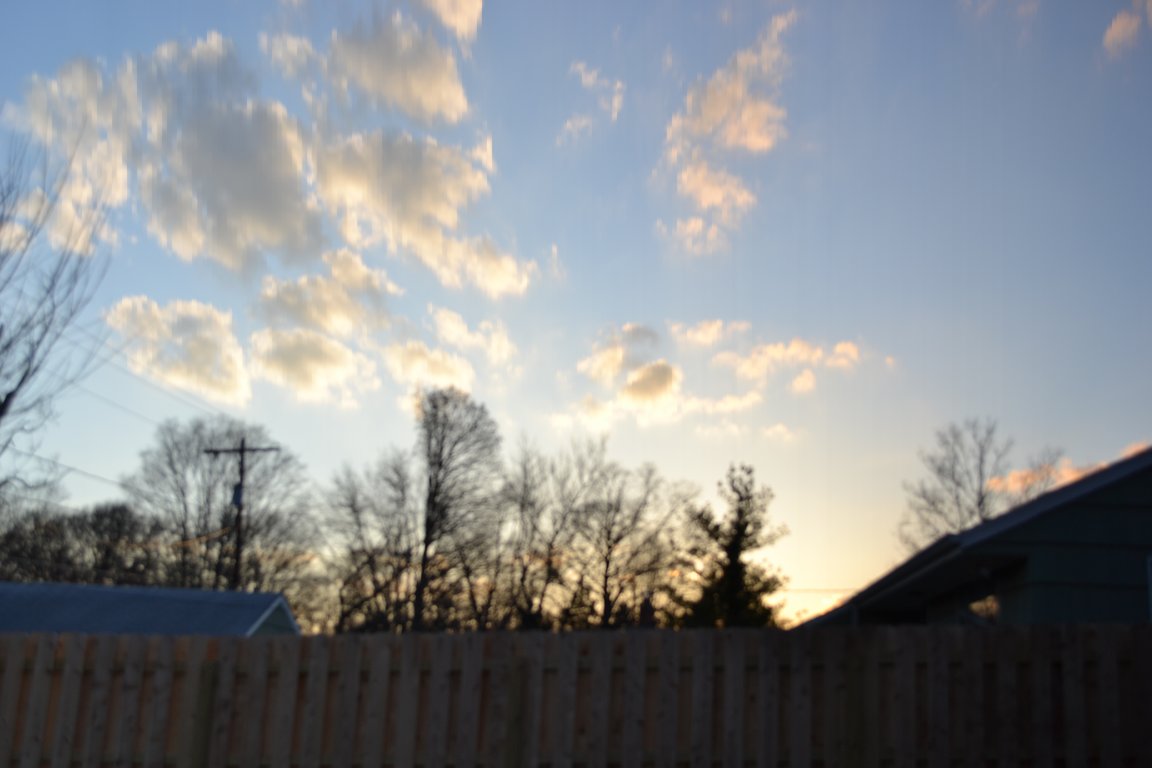
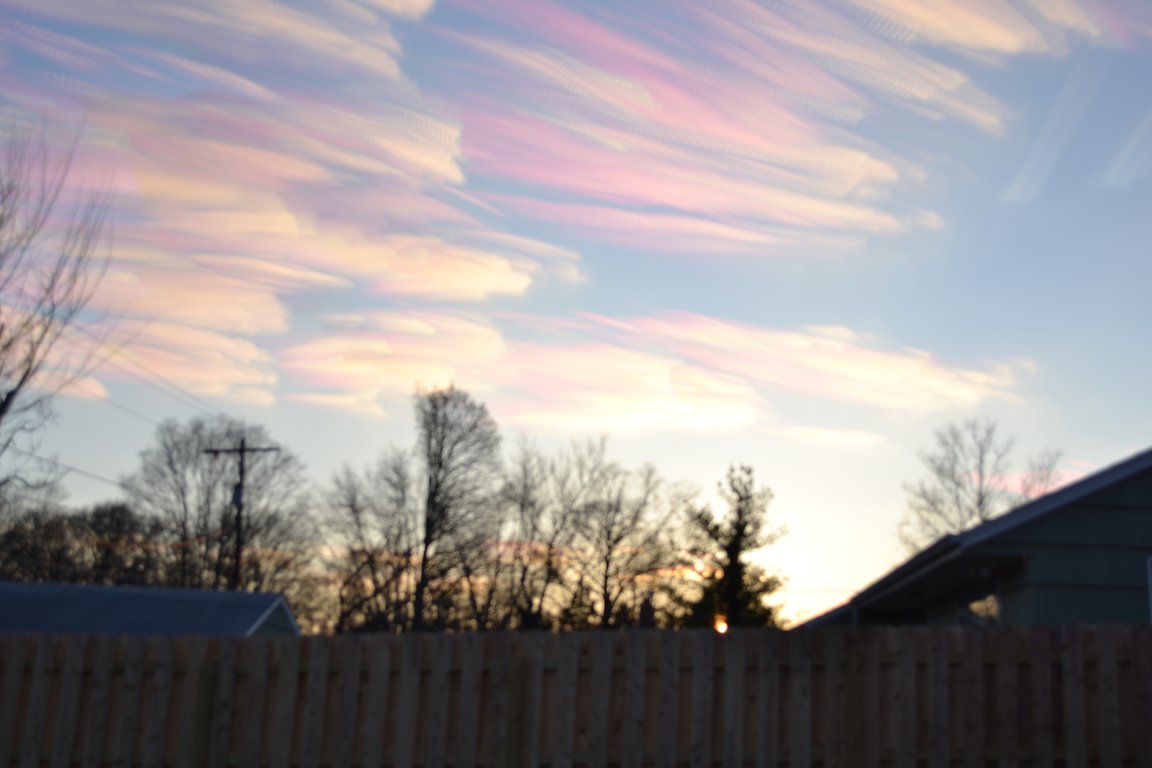
Time stacking is a way to combine all the photos into a single photo, instead of a movie. This is a common method to make star trails, and Matt Molloy has recently been experimenting with it in many different settings. There are many possible ways to achieve a time stack, but the most common way is to combine the photos with a lighten layer blend. For every pixel in the final image, the combined photo will use the corresponding pixel from the photo that was the brightest in all of the photos. This gives the desired result of motion of the stars or clouds in a scene.
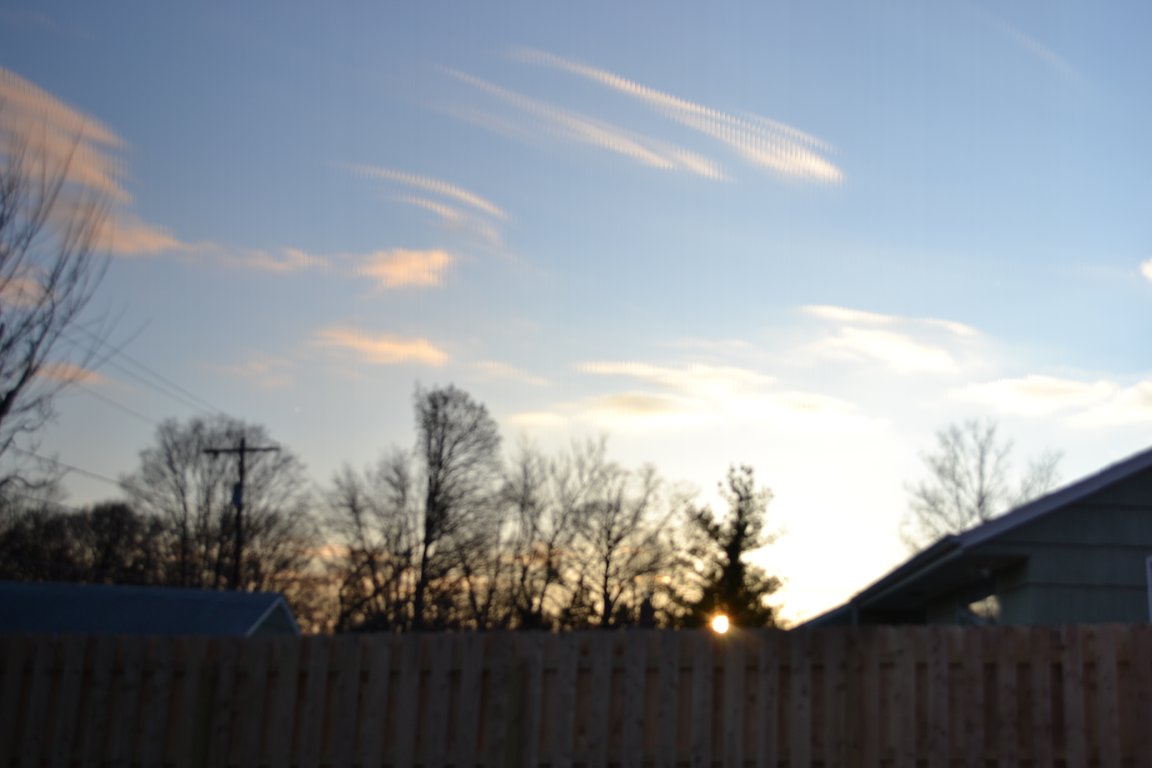
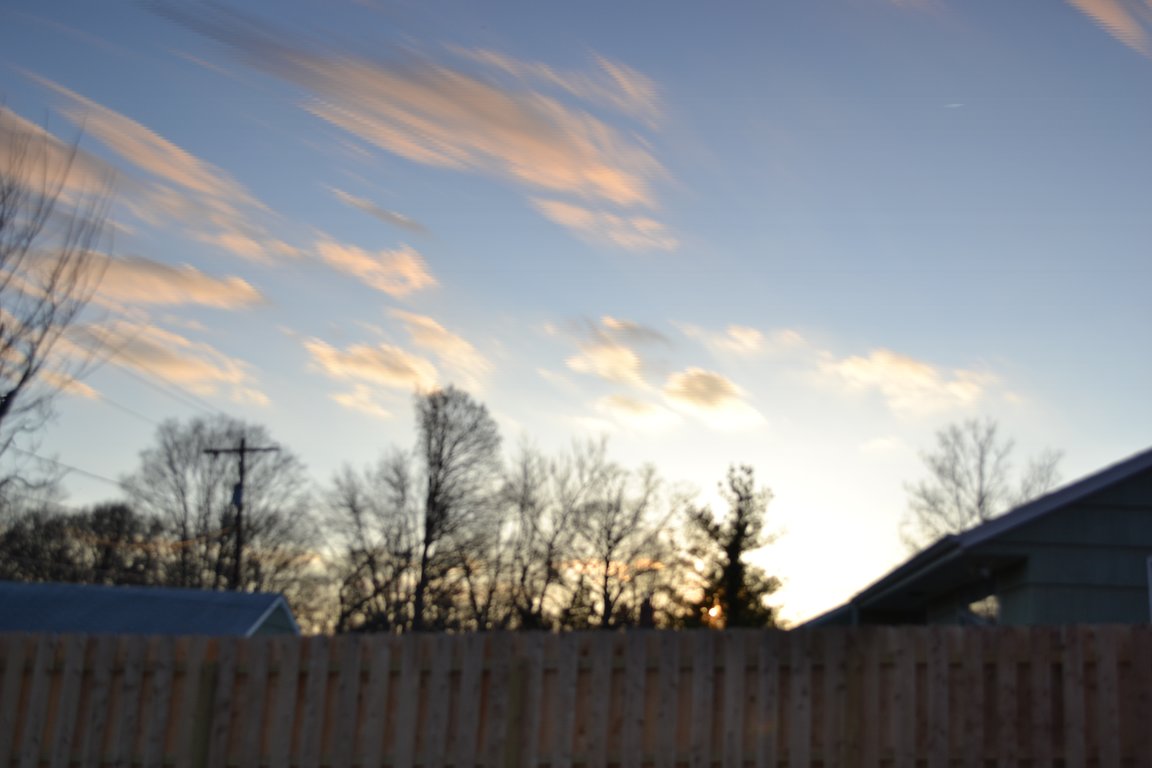
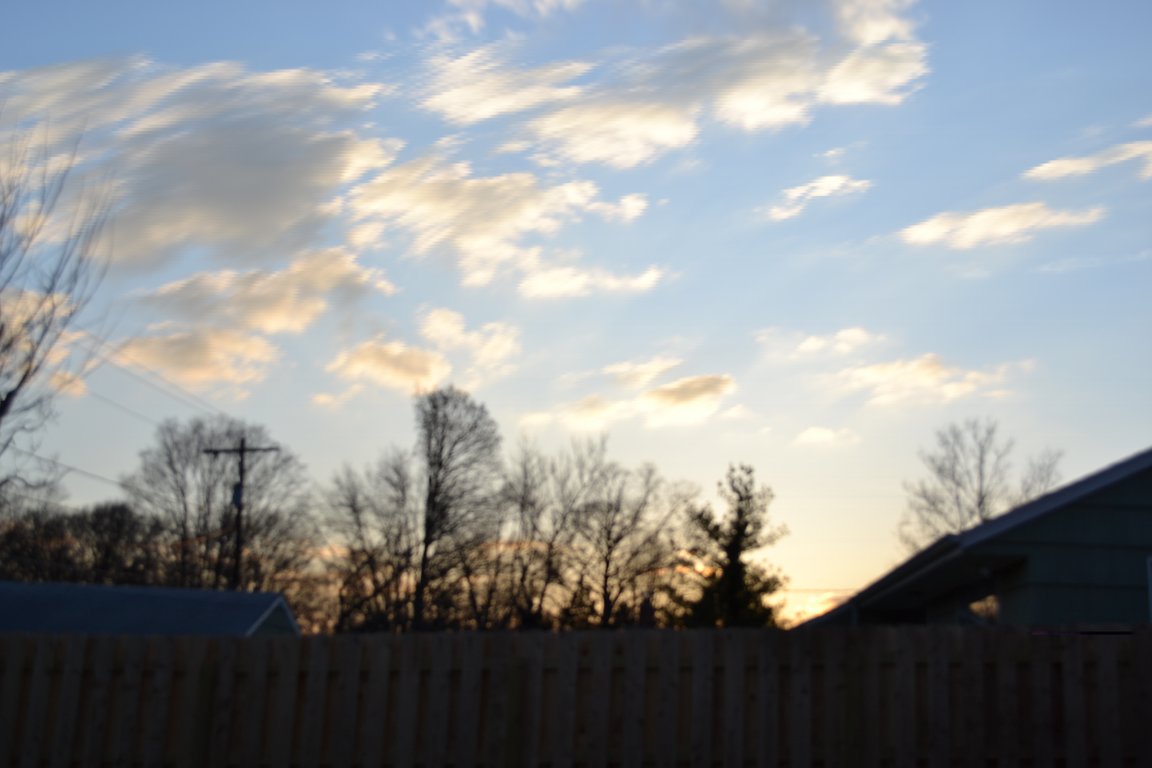
Another way to combine the photos is through time slicing (see, for example, this photo). In time slicing, the final combined image will contain a “slice” from each of the original photos. Time slices can go left-to-right, right-to-left, top-to-bottom, or bottom-to-top. For example, a time slice that goes from left to right will use vertical slices of the pixels. If you took 100 photos for your time lapse, each of which being 1000 pixels wide, the left-most 10 vertical pixel slices of the final image would contain the corresponding pixels from the first photo, the 11th through 20th vertical pixel slices would contain the corresponding pixels from the second photo, and so on. Different directions will produce different effects.
There is free software available to do lighten layer blending of two photos, but I could not find any to automatically do it for a large number of photos. Similarly for the time slice, it is easy enough to manually slice a few photos, but not hundreds of photos. Therefore, I wrote a couple of scripts in R that would do this automatically. A gist of the scripts to create a time stack script and a time slice is here. They both require you to give the directory containing the JPEG photos and the time slice script let’s you enter the direction you would like it to go.
To try this out on my own photos, I used the time lapse I had created of a sunset (movie created with FFmpeg), which consisted of 225 photos taken over 20 minutes. The source material isn’t that great (the photos were out of focus), but you can still see the effects.
The following picture is a time stack.
The following four pictures are the time slices with different directions.